Morning Lavender Mobile Presets
Have you ever wondered how all those influencers post such amazing photos? Inspired by our cafe and boutique in Tustin, we’ve created a pack of presets that will take your photos to the next level! Even if you can’t visit our cafe, these presets still add a feminine touch to all of your photos. And if you’ve never used Lightroom Mobile presets before, worry not. We’ll make this as easy as can be for you so your pictures can sparkle and shine!
Before we dive into the how-to, we want to share a little bit about each preset. We’ve named them after some of our favorite lavender varieties and each one does different things to different photos. We’ll show you.
Provence
This one is perfect for your classic tabletop food photo. With bright whites and lots of contrast to make those pieces pop, this preset is great on really light-colored photos taken in the shade.

Vera
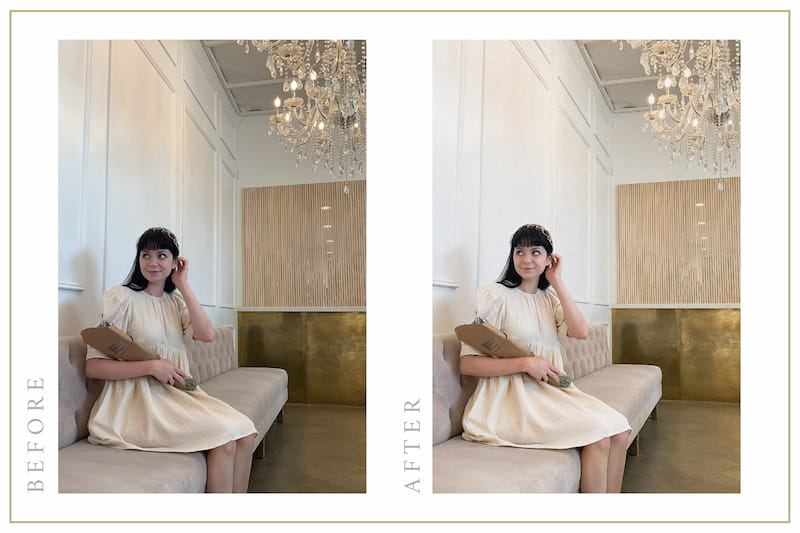
We loved what this preset did to photos of the inside of our cafe! Perfect for well-lit interiors, Vera is our go-to in the cafe. Pro-tip: it also looks great on our fitting room mirror selfies!

Ballerina
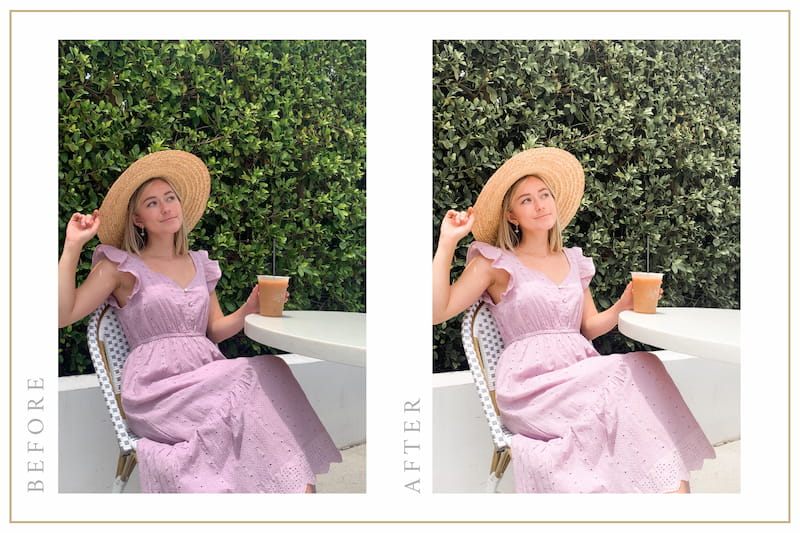
Named for our favorite delicate Spanish lavender, this preset is beautiful on our patio. It tones down the greens and is most flattering on portraits of people. While it’s versatile between photos taken in the sun and the shade, some tweaking might still have to be done.

Download the Ballerina preset here.
Buena Vista
This is a great harsh light preset, so apply it to all those outdoor drink photos! We’ve toned down the blues to make that sunlight really pop.

Hidcote
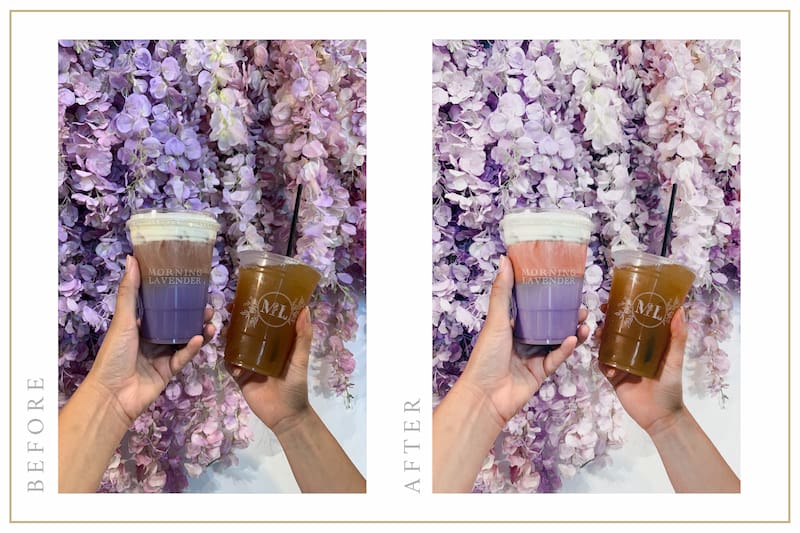
Ah, the flower wall. Sometimes all that purple can be hard to edit, so we’ve done all the legwork for you! We love the grainy look to give it a vintage, classic feel on close-up photos, but we tone it down for those wider shots. This is a much cooler preset than the others, so it’ll have some strong blue tones.

Step-by-Step Instructions
The first thing you’ll need to do if you don’t already have it, is download the Lightroom Mobile app on your phone. If you already use the app, make sure it’s updated to the latest version.
- On your phone, download the 5 .dng files from this page. If you see a button that says, “Open in Lightroom”, you can open them directly in your app.
- If you don’t see that button, save each preset file to your Camera Roll. They’ll go into the Camera Roll as blank grey squares. This is ok!
- Open your Lightroom app and import each file. You can see the edits by selecting a photo, holding down on the image, and releasing.
- Click the three dots in the top right corner and select “Create Preset”.
- Name it the corresponding name (on the image itself) and assign it to a preset group. If you’re not interested in creating preset groups, User Presets is perfectly fine. All the checkboxes are also good as-is.
- Click the checkmark in the top right corner and voilá!
- Now when you import a new photo, you can find the Preset icon on the bottom toolbar. There will be two options: Premium and Library. Your presets will be in Library, all the way at the bottom. Select the preset group you saved it to and pick out your favorite one!
Since every photo has different lighting, skin tones, etc., it may be necessary to do some manual tweaking, but that’s all part of the editing fun! These presets are just a starting point. Open different tools to edit your photo to perfection.
Pretty simple, right? If you’re more of a visual learner, watch the how-to video below to see exactly how we do it!


Leave a comment